
This article documents my installation of the web database Pleasanter on Windows 10 Pro.
- Installation Environment
- What Is Pleasanter?
- Windows Prerequisites
- IIS Configuration
- SQL Server 2019 Installation and Configuration
- Installing .NET 6.0 SDK and Hosting Bundle
- Installing and Configuring Pleasanter
- IIS Configuration for Pleasanter
- Initial Login
- Changing the Attachment Storage Location
- Next Steps
Installation Environment
- Model: HP ProDesk 600 G4 SFF
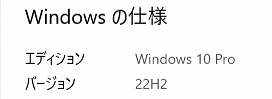
- OS: Windows 10 Pro 64-bit, Version 22H2
- CPU: Intel Core i5-8500 @ 3.00 GHz (6 cores)
- RAM: 32 GB (DDR4 2666 MHz, 4 × 8 GB)
- Storage: 1 TB SSD

What Is Pleasanter?
Pleasanter is a web-based database and a free, open-source low-code development platform. It runs on both Windows and Linux-based operating systems.
For more information, visit the official website: https://pleasanter.org
Windows Prerequisites
Before installing Pleasanter, some components must be installed and configured on Windows:
.NET Framework
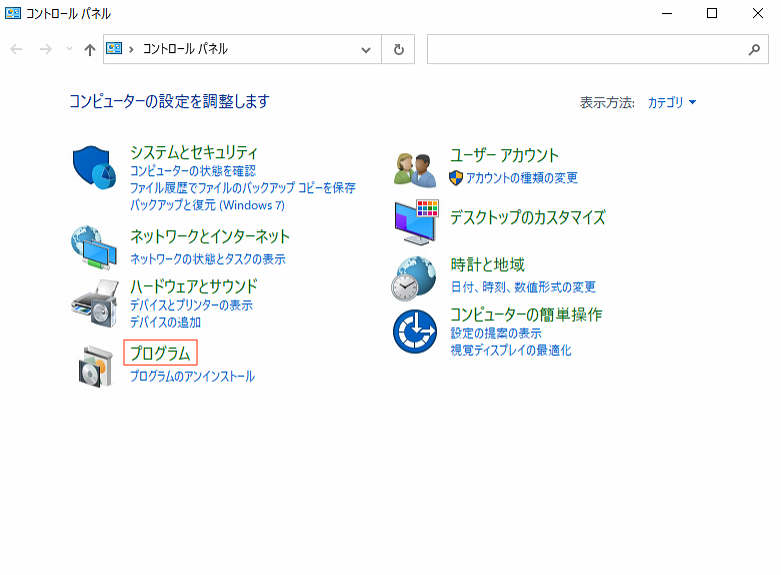
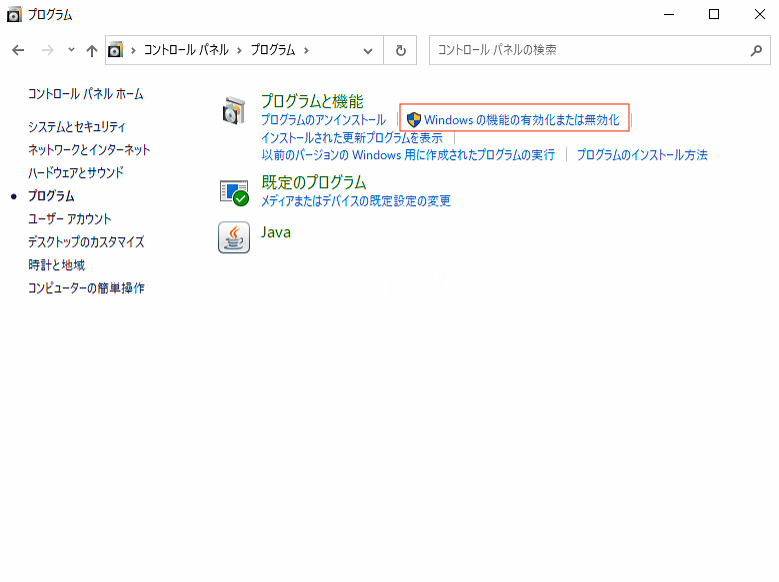
- Open Control Panel → Programs → Turn Windows features on or off.
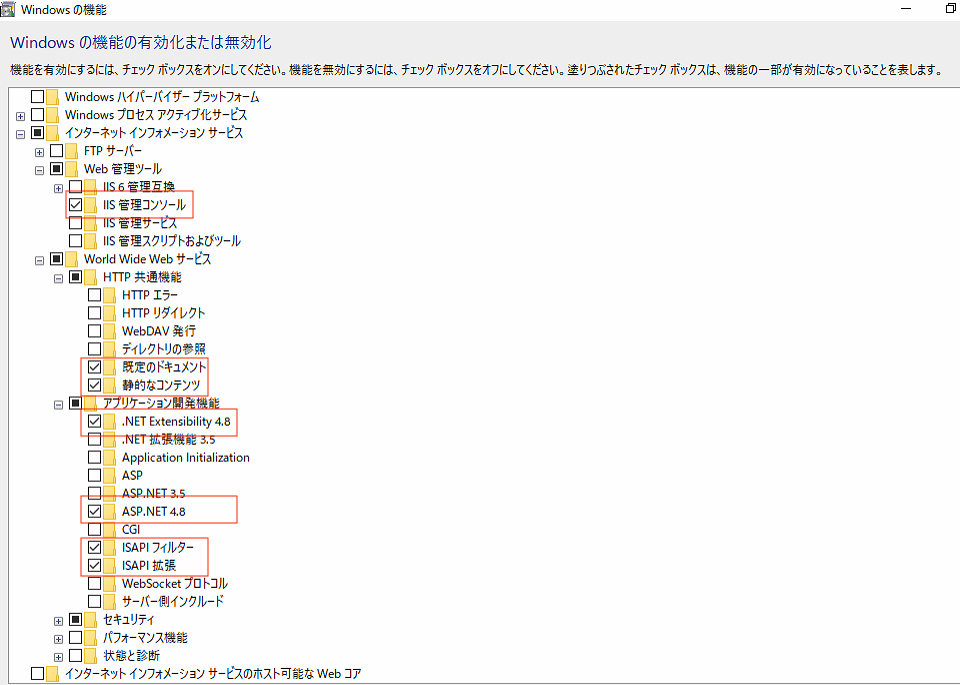
- Enable the required components under Internet Information Services (IIS) (see reference image).
- If prompted, run Windows Update to install additional components.
IIS Configuration
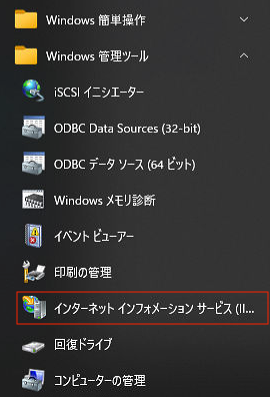
- Open Start → Windows Administrative Tools → Internet Information Services (IIS) Manager.
- Navigate to Application Pools → DefaultAppPool → Advanced Settings.
- Under Process Model, change Idle Time-out Action from Terminate to Suspend and click OK.
SQL Server 2019 Installation and Configuration
Download and Install
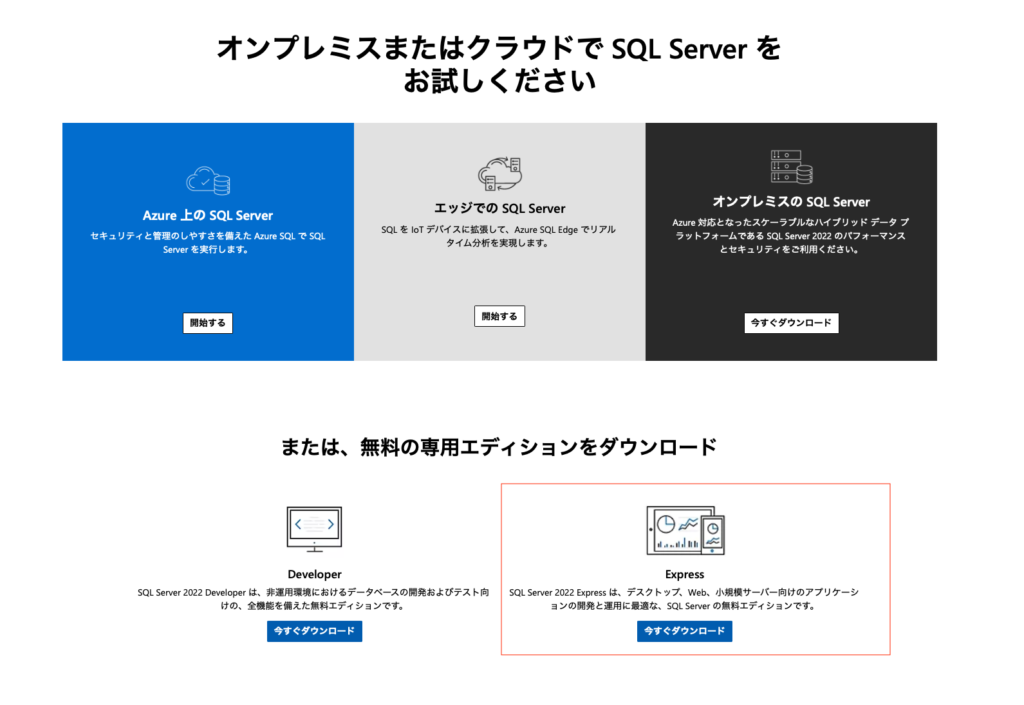
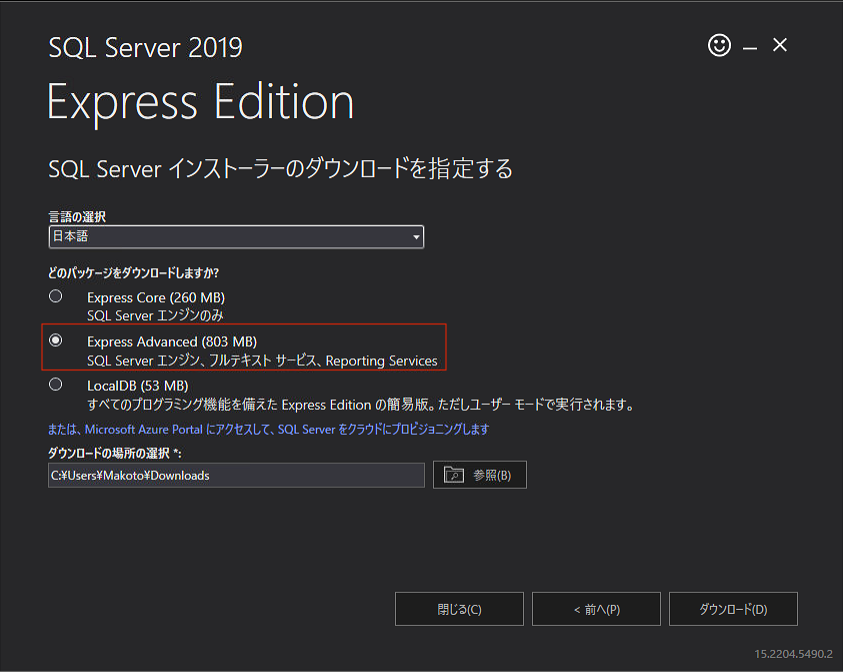
- Go to the Microsoft SQL Server Download page and select Express Advanced, then click Download.
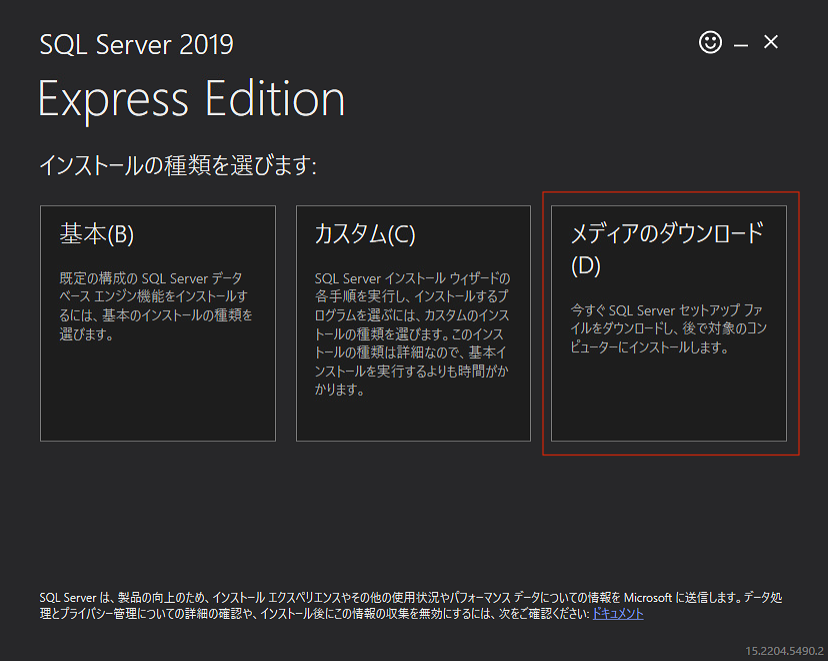
- Once downloaded, open SQLEXPRADV_x64_JPN.exe from your Downloads folder.
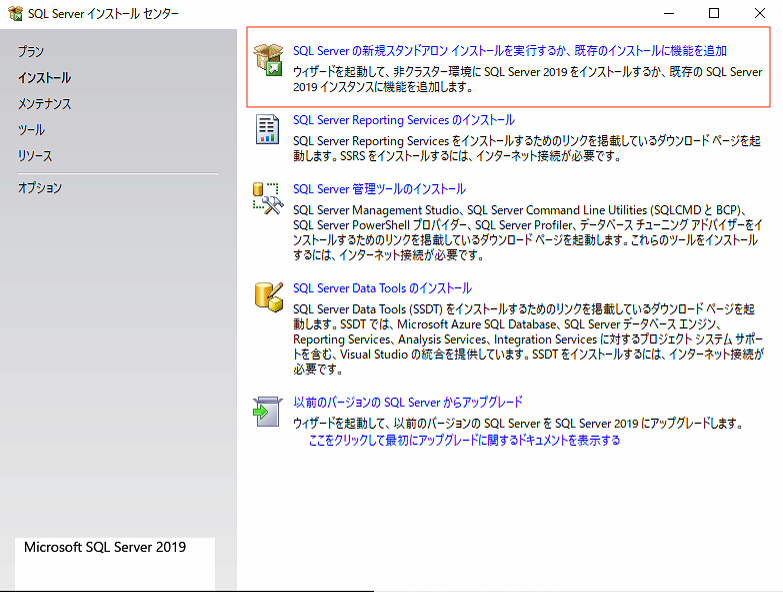
- Select “New stand-alone installation or add features to an existing installation”.
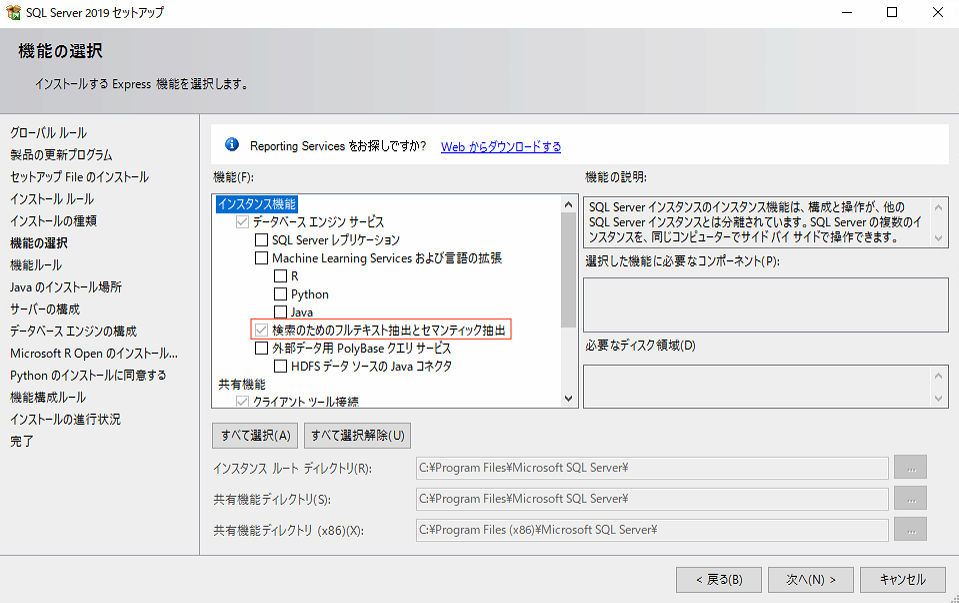
- When selecting instance features, check:
- Database Engine Services
- Full-Text and Semantic Extractions for Search
- Complete the installation.
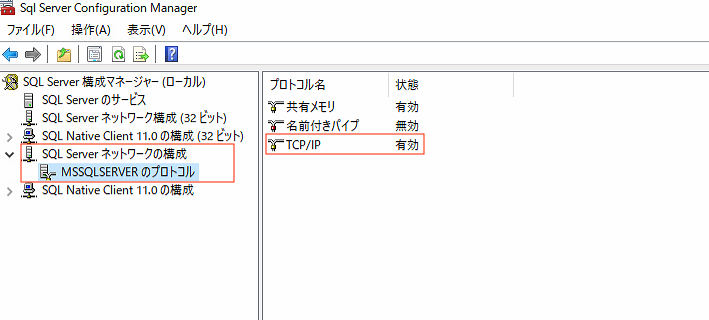
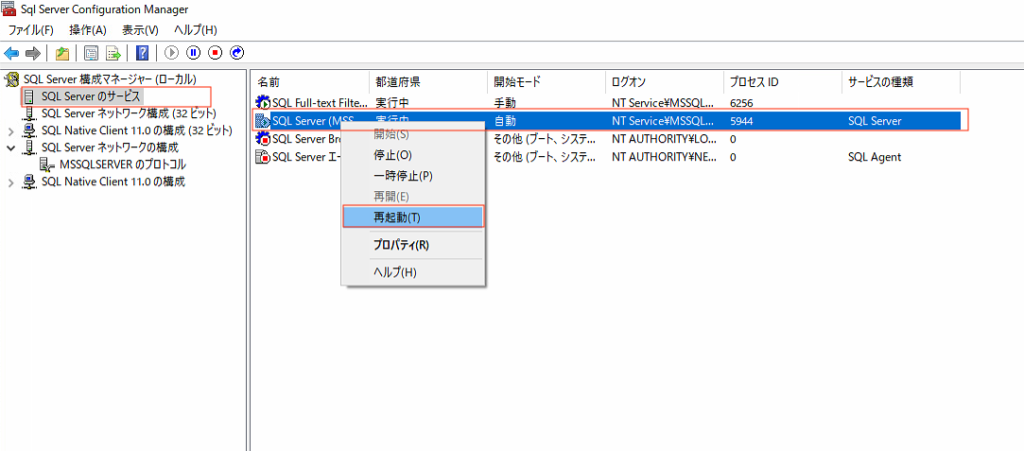
Enable TCP/IP
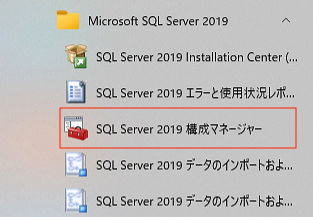
- Open SQL Server 2019 Configuration Manager.
- Go to SQL Server Network Configuration → Protocols for MSSQLSERVER.
- Right-click TCP/IP and select Enable.
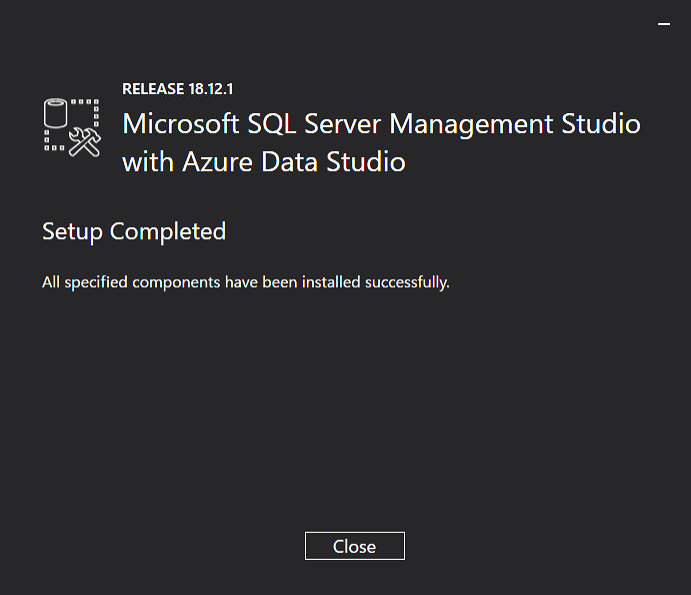
Install SQL Server Management Studio (SSMS)
- Download and install Microsoft SQL Server Management Studio (SSMS).
- Follow the installer instructions to complete the installation.
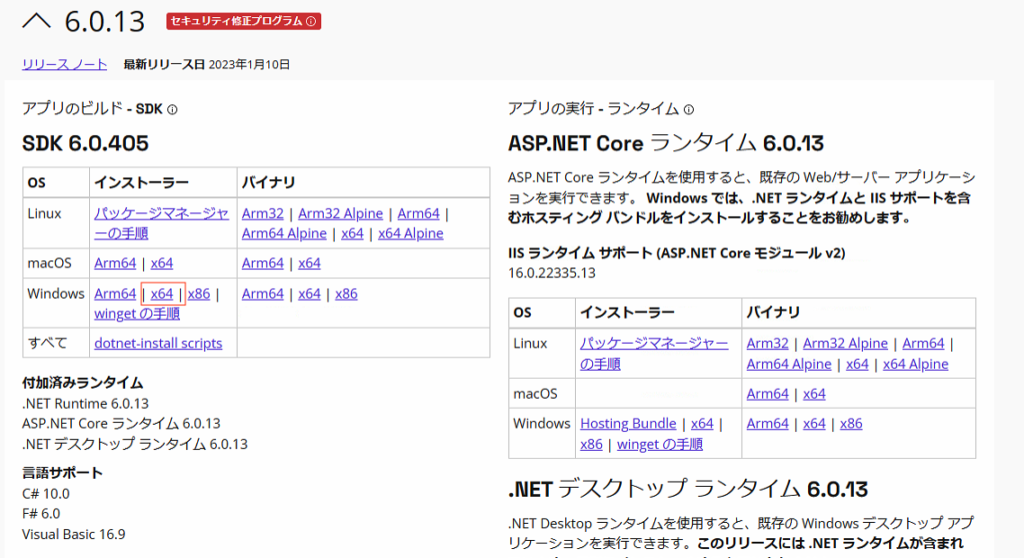
Installing .NET 6.0 SDK and Hosting Bundle
.NET 6.0 SDK
- Download the .NET 6.0 SDK for Windows x64 and install it.
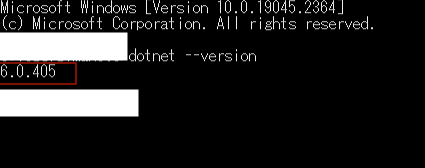
- Open Command Prompt and run: dotnet –version
- If the version number appears, the installation was successful.

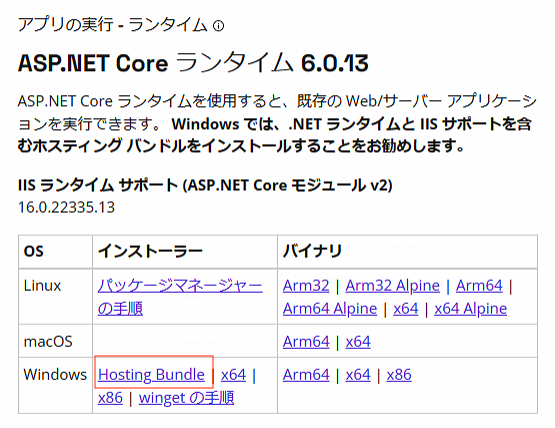
Hosting Bundle
- Download and install the .NET 6 Hosting Bundle.
- This completes the Windows-side setup.
Installing and Configuring Pleasanter
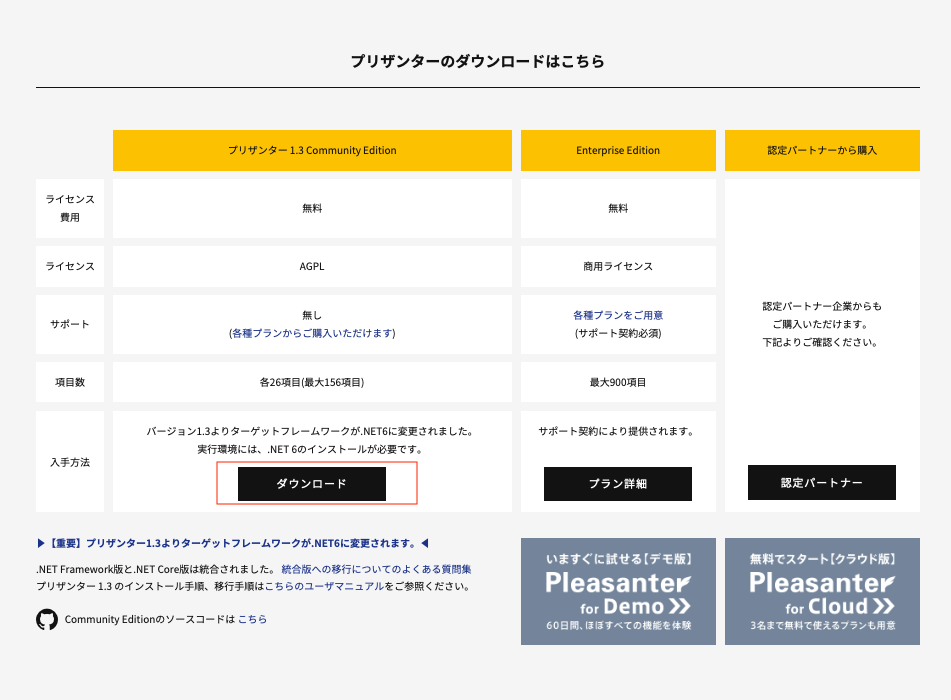
Download and Extract
- Download Pleasanter from the official download page.
- Extract the ZIP file.
- Create a folder under C:\web and place the extracted pleasanter folder inside: C:\web\pleasanter
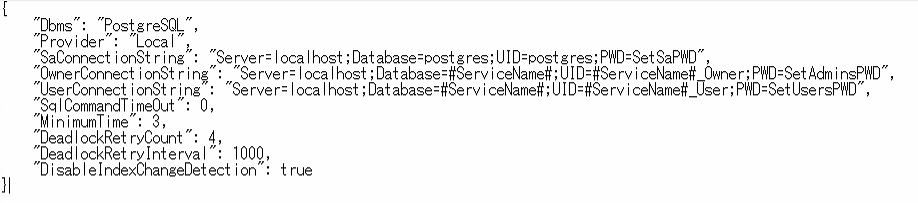
Database Configuration
- Edit C:\web\pleasanter\Implem.Pleasanter\App_Data\Parameters\Rds.json to configure the database settings. (Password section is masked.)
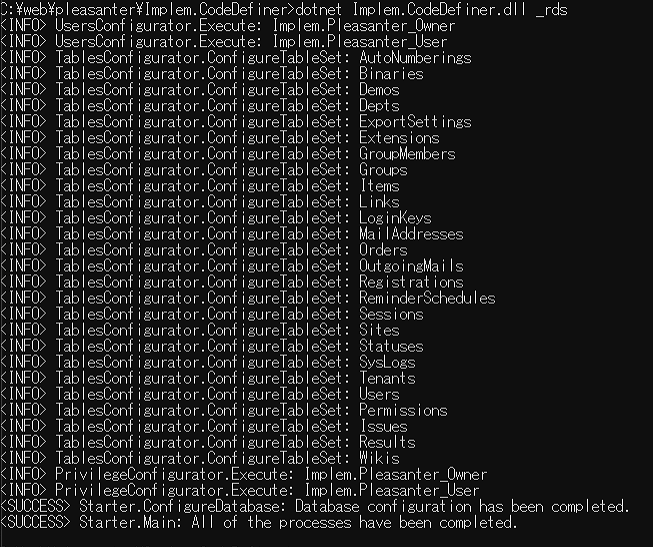
Running CodeDefiner
- Open Command Prompt and navigate to the CodeDefiner folder: cd C:\web\pleasanter\Implem.CodeDefiner
- Run: dotnet Implem.CodeDefiner.dll _rds
- If a success message appears, the configuration is complete.
IIS Configuration for Pleasanter
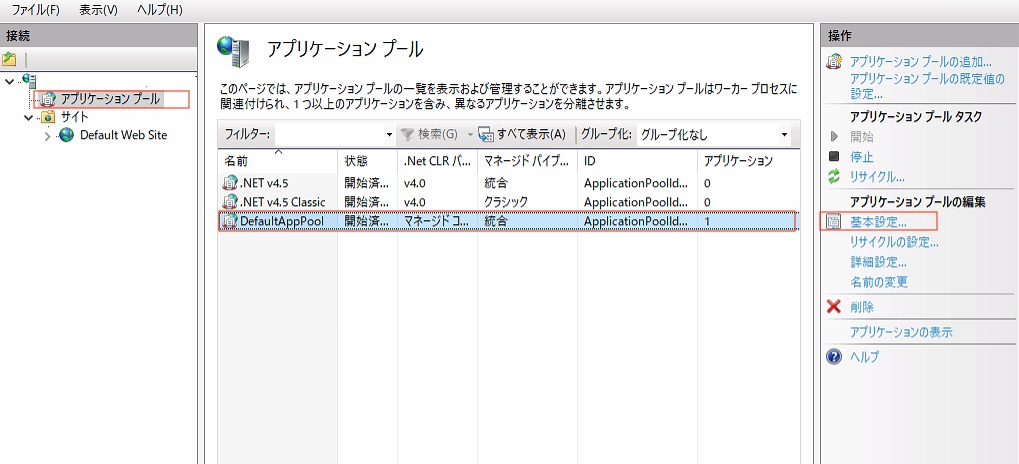
- Open IIS Manager.
- Go to Application Pools → DefaultAppPool → Basic Settings and set .NET CLR Version to No Managed Code.
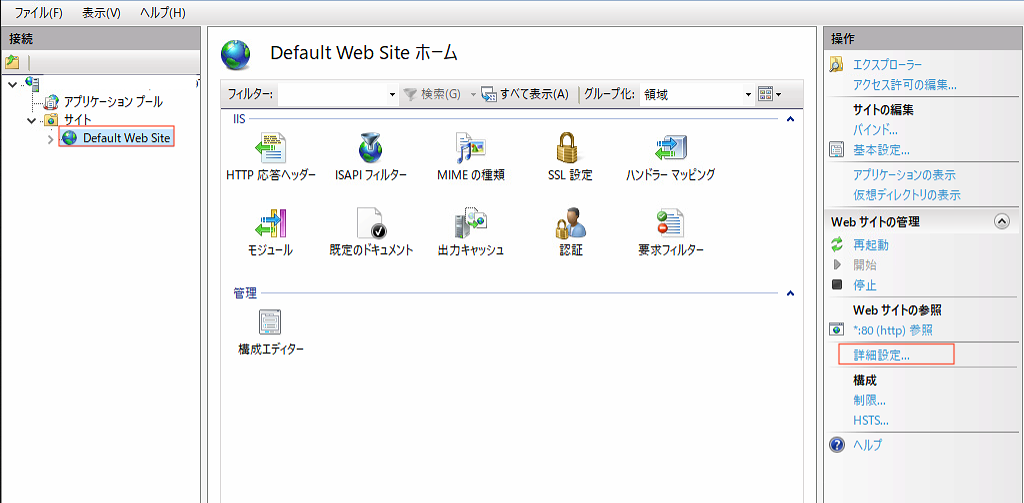
- Go to Sites → Default Web Site → Advanced Settings.
- Set Physical Path to: C:\web\pleasanter\Implem.Pleasanter
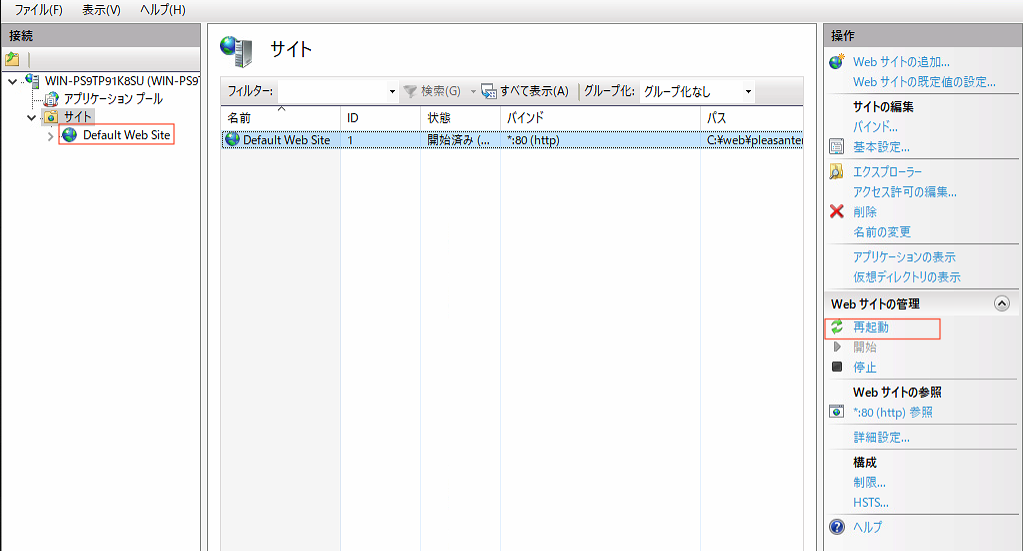
- Restart Default Web Site.
- Pleasanter installation is now complete.
Initial Login
- Open a web browser and go to: http://localhost
- If the Pleasanter login screen appears, the setup is successful.
- Use the following credentials for first login:
- ID: Administrator
- Password: pleasanter
- You will be prompted to change the password immediately.
Changing the Attachment Storage Location
Pleasanter supports file attachments. By default, attachments are stored on the C drive, which may eventually cause disk space issues.
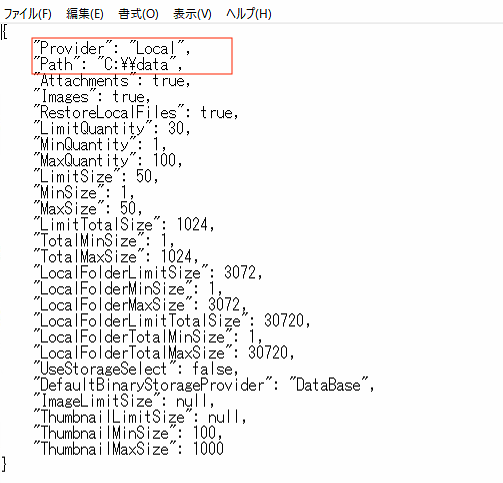
- Edit C:\web\pleasanter\Implem.Pleasanter\App_Data\Parameters\BinaryStorage.json.
- Update the configuration: { “Provider”: “Local”, “Path”: “D:\\PleasanterData” } (Replace
D:\\PleasanterDatawith your preferred storage path.) - Restart Pleasanter to apply the changes.
Next Steps
Next, I plan to integrate Pleasanter with the OSS BI tool Metabase for data integration.
